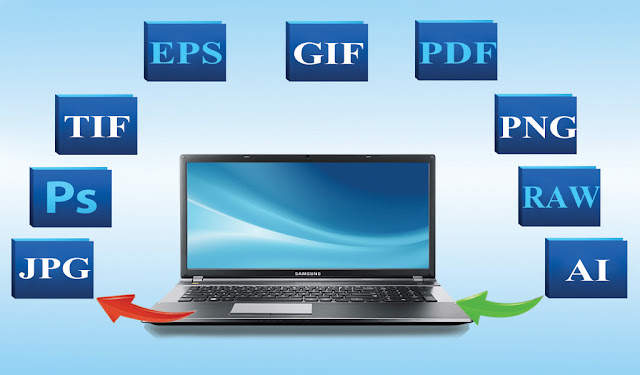
How to convert Clipping images to EPS Format?
It is really very irritating when you have done with the image clippings but can’t turn the images into EPS format. It is like you have all the chores and afterward, a cat has ruined it all. It really makes it hard to be glad that an edited image isn’t moving from the editing table. You can ask any of the editors and know that they all have experienced this same issue with the saving of the file to EPS format. If you know the difference between the clipping path and the clipping mask then you will definitely know about the saving of the image into the desired format. Photoshop files can be easily imported to Illustrator; if you are using X pro, Photoshop software 7, Illustrator number 9 then this article can be very useful for you.
Now the issue is why confusion is created in the first place? Whenever it comes to send images to an editor, image provider fails to select the proper image format file. Here the editor only knows the perfect image format that needs to be selected. The editor knows what format it should come in and which format will work best for the images. Some images need extra clipping path to complete and some needs less but both the type needs clipping to complete one action. Editors are expert in clipping and they can complete it within hours for bulk images, Mac users might need different processes to complete the images. There are other software rather than Photoshop which is the Illustrator which changes the game completely. And so the images are altered into Illustrator when the image format isn’t working to the best.
Why image format is more suitable to EPS when the image is gone through clipping? It is the open ending editing that helps in last minute changes easily. It is accepted globally for the internet-related images, digital media work, E-commerce, and websites.
For the conversion, if an editor works on the Illustrator then he might face some of the issues like bitmap asking for the transparency, a.PSD file in illustrator which is causing a problem and needs immediate individual altering, instead of the image white silhouette, the foggy mask covers all the edits which needs to be removed or else the whole image will turn to a useless image, where only two option is available to use either the clipping path or the image masking. If the image has the hard edges then the path is sketched where the pen tool is used. On the final step the image outline is masked to make the edges transparent and all the image is transferred to the Illustrator when the outline is done with the clipping. You can choose the clipping from the toolbar and use it. Make sure you have chosen the clipping path from the toolbar and not anything else. The pen tool will help you to draw lines over the edges of the product and then select the product only and detach others which makes it easier to change the image format.


Thanks for sharing your info and landscape image. I truly appreciate your efforts and I will be waiting for your next post thank you once again.
ReplyDeleteSee more:
clipping path
Cutout Image Media is a well-known graphics design and image editing service provider in Bangladesh. We have 11 years of working experience in the image editing industry. We are specialized in Photography post-production services for E-commerce and Product Photography.
ReplyDelete